Friday, May 30, 2014

A Wearable Smoky-ish Eye.


Don’t we all love a dark and mysterious look? I do. However, there is a very thin line between seeming mysterious and looking like a panda. More times than I would like to admit, I have looked like a panda. Below is how NOT to look like a panda – guaranteed.


TIP: I would suggest applying foundation and concealer after you have worked on the eyes, due to eye shadow fallout.

1 – Add an eye shadow primer. I have chosen Urban Decay’s Eye Shadow Primer Potion in Eden.


 2 – I opted for a deep blue colour, as opposed to a traditional black. I used MAC’s “Contrast” with a smudge brush across the upper lash line. It doesn’t have to be perfect -just focus on getting the colour on your lid. For a smoother transition, I used MAC’s “Quarry” and blended the two colours and taking it right up to your crease. Then blend, and blend some more and keep going until you are satisfied with the outcome.


3 – Add the same “Contrast” shade to your lower lash line to tie the look together. Apply black eyeliner to the upper and lower waterline. I love the look of a bright inner corner because it brings light back into the eyes after the dark colours, hence I added MAC’s “vanilla”.


4 – Curl and apply oodles of mascara.


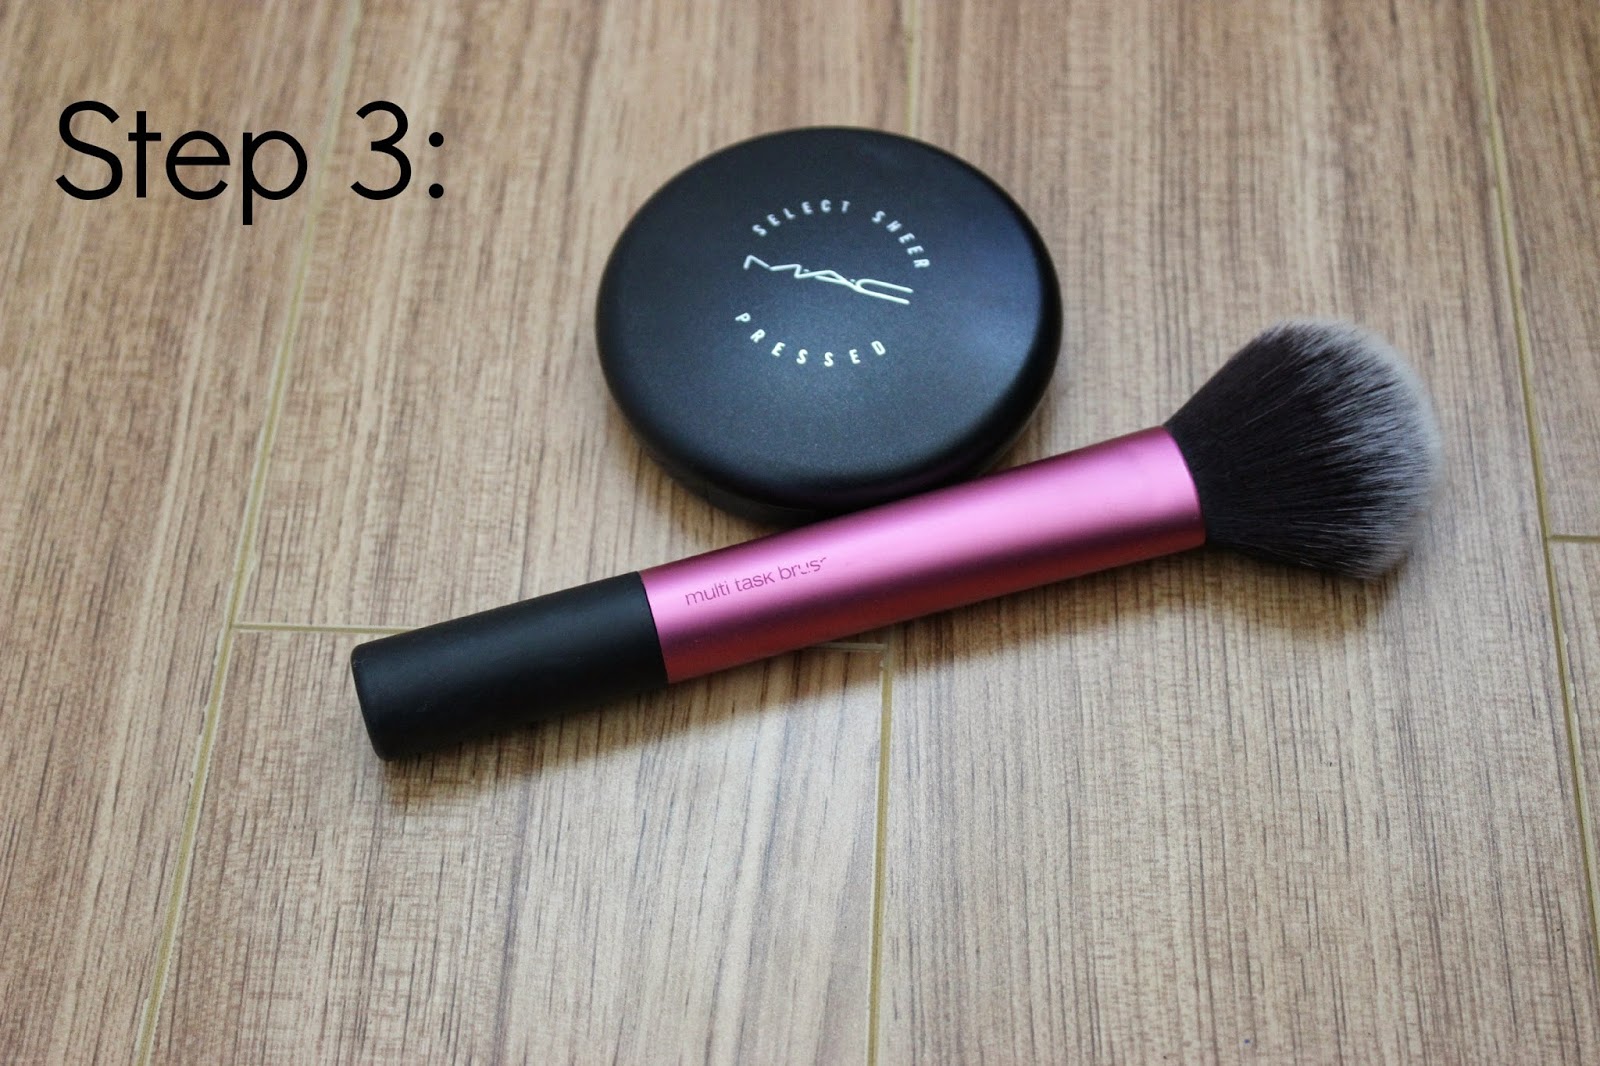
5 – Finally, add your base. I did my regular face routine. I applied MAC’s Prolong Wear Concealer under my eyes and spot concealed my little friends that have found a home (i.e. my zits). I went in (yes, again) with Maybelline’s Fit Me Concealer under my eyes, which was a shade lighter than my normal skin tone to brighten up my face. For my foundation, I applied L’Oreal’s True Match all over my face with a sponge for a light coverage.  Set everything in place with a powder.


6 – For a healthy glow, I applied Rimmel’s blush in the shade “Pink Sorbet” over the apples of my cheeks, blending upwards.


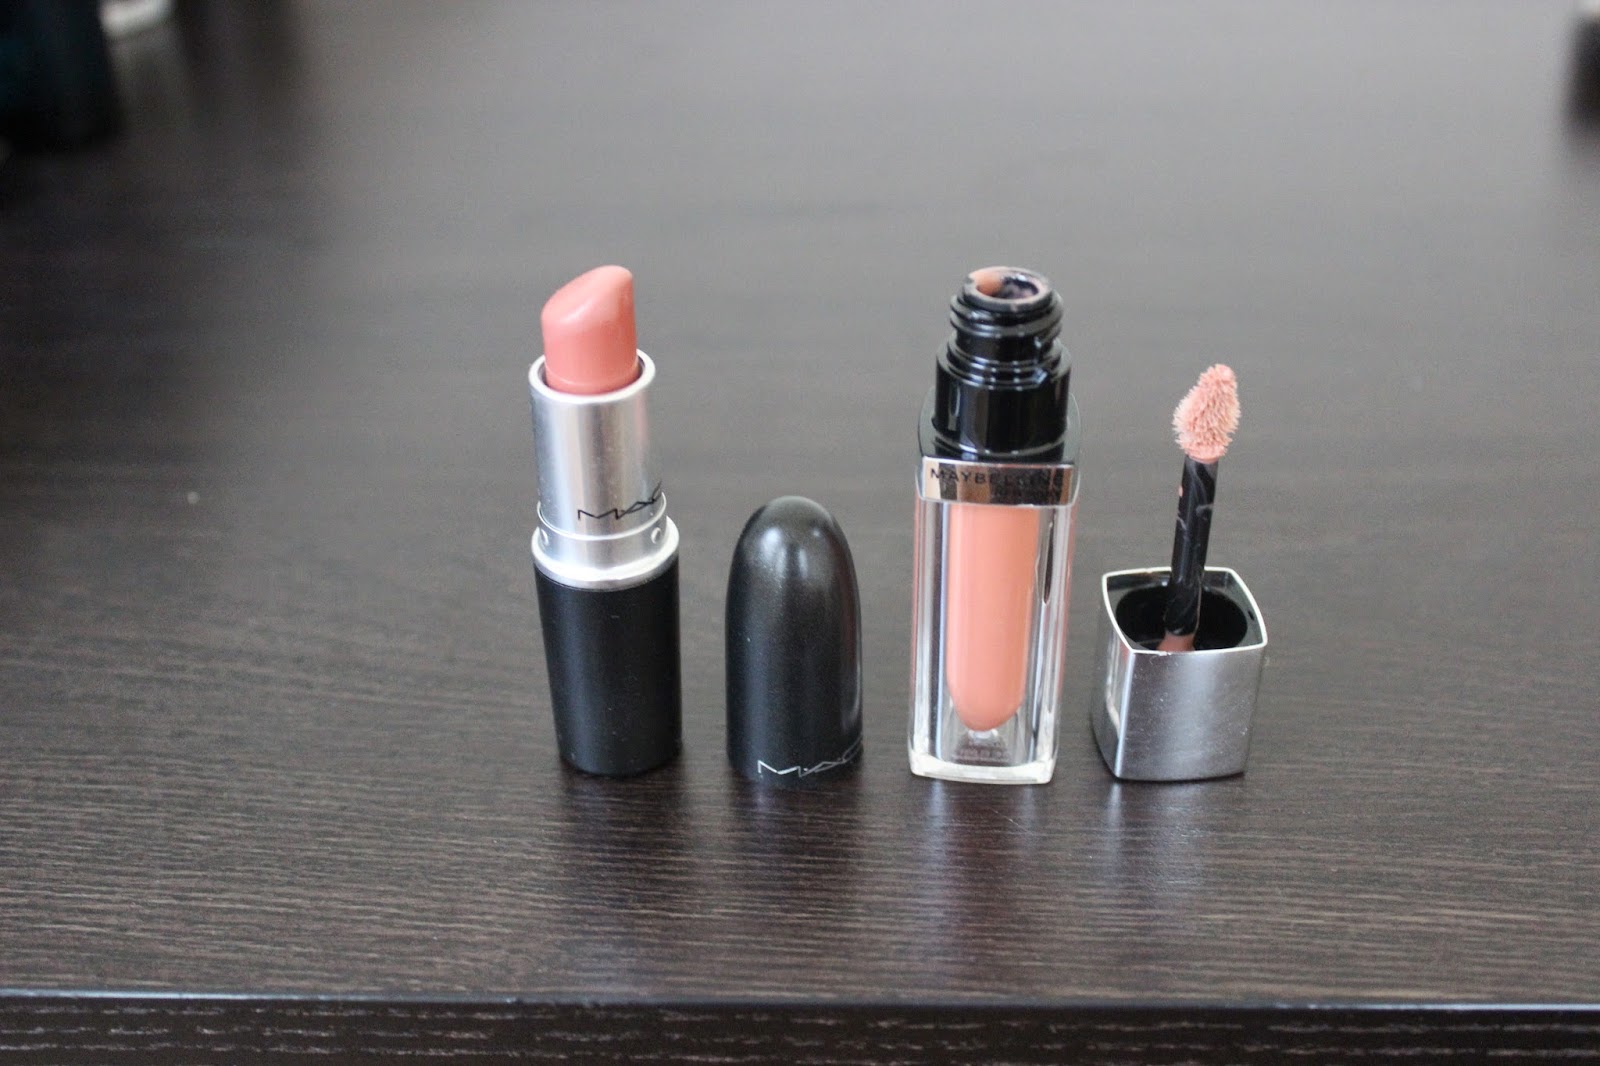
7 – Go for a nude lip or a light pink shade to let the eyes be the star of the show. I lined my lips with Rimmel’s liner in the shade “Addiction” and, of course, over the top I applied Maybelline’s lip-gloss in  “Nude Illusion”.


TA-DAAAA! All done.
Now for the awkward pictures!


Much Love, 
xx


Tuesday, May 27, 2014

How To: Nude Lips


I absolutely love the look of nude lips, however, I can never seem to pull it off well. It may be because my lips are highly pigmented and possibly because they are a deep shade of pink. A nude lip just seems to wash out my face and make me look dead – no beuno.

However if you find the right shade and the right technique, I am sure any girl will be able to pull off this “I-am-dead-but-not-really” look. For my lipstick shade I picked MAC’s “Kinda Sexy”. I fell in love with this shade at the MAC store and didn’t think twice about getting it but it didn’t seem to work with my complexion.

My trick รจ Dab the lipstick on. Start with a small amount and build up the colour as per your liking. Don’t start off with a sweep of colour all over your lips, start small and pat the product in with your fingers. Because it is a matte lipstick, make sure to exfoliate your lips and apply a hydrating lip balm prior.


I then decided to try on a nude lipgloss. I think I prefer this look with a little bit of a shine. What do you guys think?


Mac Lipstick in 'Kinda Sexy' priced at CAD $19.00
Maybelline Colour Sensational Elixir in 'Nude Illusion' Priced at CAD $ 8.96


Much Love, 
xx


Monday, May 26, 2014

My Go-To Makeup Look ☺


Lets face it! We all love sleep a little bit more than spending time getting ready. On days when I don’t feel like spending a gazillion hours doing my makeup, I opt for something simple: a bother-free makeup look that lasts for a really long time. and I rarely have to do any touchups – a killer combination.

Step 1: Start With a Good Canvas

I started off with a face primer because the oils on my face refuse to corporate with my makeup. Then I applied a good base and concealed all the spots and the dark circles under my eyes. This step took me a while – THANK YOU ZITS! I chose the L’Oreal True Match Foundation. To hide them bad bags underneath my eyes I chose MAC’s Prolong Wear Concealer and to set everything in place I used MAC’s Mineralized Skinfinish.


Step 2: Work On the Eyes.

Start by applying a primer, I used Nars Smudge Proof Eye Shadow Base all over the lid. I used MAC’s eye shadow in ‘Blanc-Type’ to even out the colour of my eyelids and used MAC’s ‘Nylon’ eye shadow as the inner corner highlight.
I defined my upper lash line with a black eyeliner and then a couple of coats of mascara.


Step 3: Blush It Up!

My favourite step! Go in with a pink blush colour on the apples of your cheek and blend the colour right up to your temples.  Applying blush just on the apples of your cheeks looks amplified; we want the blush to give us a natural glow. I chose a NARS blush in ‘Orgasm.’


Step 4: Lippies

I have on MAC’s lipstick in ‘Plumful’ and over the top I applied Maybelline’s lip gloss in the shade ‘Caramel Infused.’ I have been enjoying this combination lately, it compliments my natural lip shade and looks all nice and shiny!


…and boom! You are done. You have a healthy complexion, bright eyes and a glossy lip. If this does look doesn’t say “sophistication”, I don’t know what will.

                                        now time for some awkward posing! :D

Why do I look so sad?!


Much love,
xx


Thursday, May 22, 2014

The Minimal Face

1 – Add a light base.

Stick to a good base with light coverage. This doesn’t include the Makeup Forever HD foundation or Estee Lauder’s Double Wear, so fight the temptation girls. I suggest a tinted moisturizer or a BB cream. I have opted for Maybelline’s Dream Fresh BB. It’s an amazing product with decent coverage and evens out your skin tone. 


 2 – Conceal


If a few spots are peeking through, that alright! It’s not the end of the world. Do a little spot concealing and if needed, add some underneath the eyes to hide your lack of sleep over the past new nights.


3 – Set

            Set your face with a powder, if needed.


4 – Eyes

If you have oily lids, like myself, prime the lids with a good primer. I LOVE the Nars Pro Prime. It’s the only primer that doesn’t crease on me. Apply a light brush of colour all over the lid and a bright shade on the inner corner to make yourself look awake.


5 –Curl and apply lashings of mascara

Since we are skipping the eyeliner, make sure to give your eyelashes a good curl and apply generous coats of mascara. Key Tip : once you mascara has fully dried go back in with your curler. Just be careful not to rip your eyes out. Be gentle!


6 – Blush

My favourite part! Add some colour back into your face by applying a pink toned blush. Go light again. I get a little excited with my blush. But HEY! That never killed anybody. I do love the look of rosy cheeks.


7 – Lips

            I tend to apply a nude gloss over my lips or something with a plum undertone. 


THERE WE GO! In 7 easy steps you are ready to conquer the world. You will look fresh and put together. The above routine takes me no longer than 10 minutes, so I have a fuss free morning and ready to run out the door without worrying.


INSTAGRAM